

In this tutorial you'll take an ordinary product photo, remove its background and put the product on a clean color, ready for Instagram or a shop listing. You need your Angyza account and a product photo (PNG, JPG or WebP, up to 25 MB). It's free: Studio edits don't use credits.
The example is a soy candle, but any product works. A photo taken on a plain surface that's a different color from the product gives the cleanest edges.
Open StudioOpen your photo in Studio
Open Studio and click Upload a photo, or drop the photo onto the page. If the photo is already in your library, click From library instead.
Result: your photo fills the canvas, with the tools down the side.
ai.angyza.com/app86Background Crop Adjust Text Layers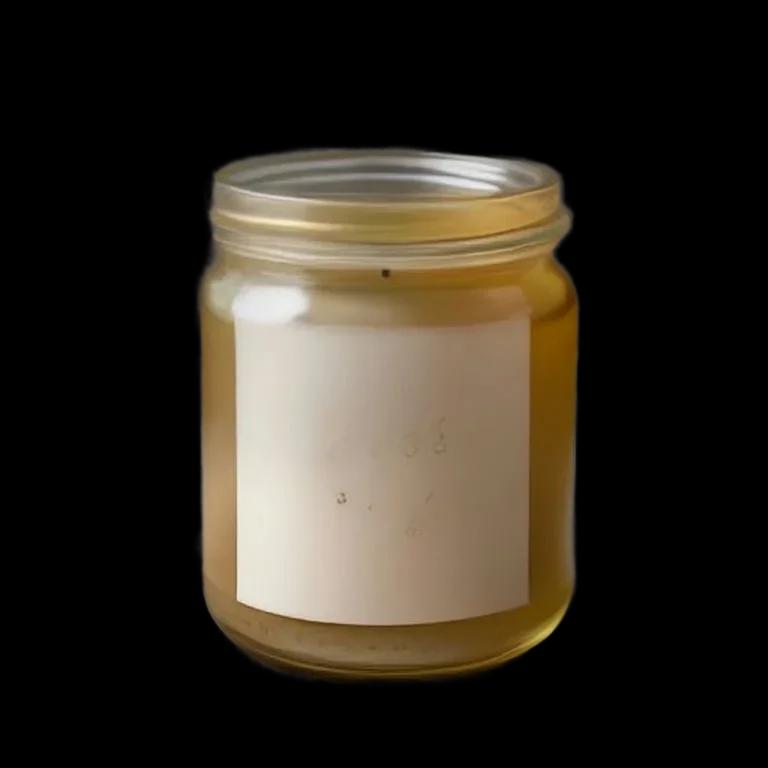
New background
Background removed
Export PNGPreview of the Studio screen in Angyza AI, with real outputs. Remove the background
Click Background, then Remove background.
The first time, your browser downloads the AI model once (about 44 MB), and you'll see the download progress. After that it takes a few seconds. The photo isn't uploaded: the removal runs on your device.
Result: a "Background removed" message, and your product on a checkered (transparent) background.
Studio, background removed: Runs in your browser. The photo isn't uploaded. Check the edges
Zoom in on your screen and look at the edges, especially thin parts like wicks, handles or straps.
- Not clean enough? Click Again to run the removal once more.
- Want to start over? Click Restore original.
If the edges stay messy, retake the photo on a plainer surface with more contrast.
Pick a clean background
Under New background, choose one:
For Pick Marketplaces that ask for white The white swatch A soft studio look The Studio grey gradient A warm, natural feel The Sand gradient, or a beige swatch Your brand color The custom color circle, then your color A logo or sticker Transparent (keep it and export as PNG) Result: your product sits on the new background straight away. Try a few; it's free.
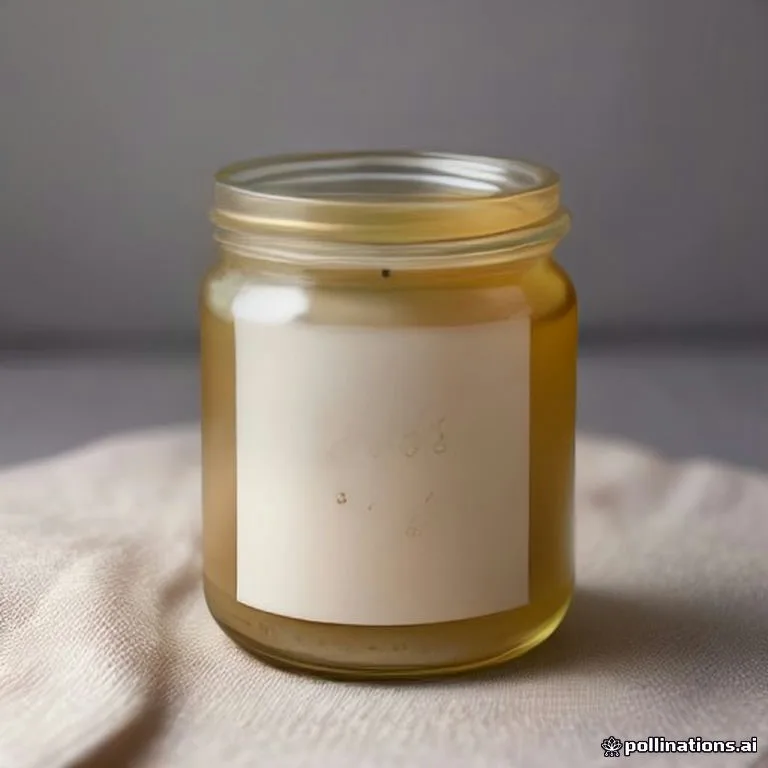
Prompt: Handmade soy candle in an amber glass jar with a minimal kraft label, dried lavender sprigs beside it, linen fabric backdrop, studio product photography, soft shadows, warm tones Or create a scene (optional, 15 credits)
For a lifestyle look, describe a scene under AI background and click Create background (15 credits):
Linen fabric on a wooden table, soft morning window light, dried lavender at the edgesDescribe only the scene, not your product. Angyza AI makes the scene at your canvas size and puts it behind the cut-out. The new scene is also saved to your library.
Resize for where you'll post
Click Resize and pick a size:
Where Preset Instagram feed Instagram post (1080 × 1080) or Instagram portrait (1080 × 1350) Stories and Reels Story / Reel (1080 × 1920) Pinterest Pinterest pin (1000 × 1500) Under Photo placement, click Fit to show the whole product, or Fill to fill the canvas. Most shops use square images; use Custom size if yours asks for something else, up to 4096 pixels per side.
ai.angyza.com/app86Background Crop Adjust Text LayersNew background
Background removed
Export PNGPreview of the Studio screen in Angyza AI, with real outputs. Add text if you need it (optional)
Click Text and choose a preset like Heading or Poster. Double-click the text to type the product name or a price. Turn on Soft shadow or Highlight behind text if it's hard to read.
Many marketplaces don't allow text on the main product photo, so keep a version without text.
Export and save
Click Export.
- Pick PNG if you kept a transparent background. JPG turns transparency white. WebP keeps transparency and gives a small file.
- Pick 2x for a sharper image if it's offered.
- Click Download to save it to your device, or Save to library to keep a copy in Angyza AI.
Result: a clean product photo with no watermark, ready to post.
ai.angyza.com/app86AllGeneratedStudioUploads
Preview of the Library screen in Angyza AI, with real outputs.
Tips
- Light it evenly. Take the photo near a window, without a strong shadow behind the product.
- Fill the frame. The cut-out is made at up to 2048 pixels on the long side, so a product that fills more of the photo keeps more detail.
- Make a set. Once your first photo looks right, use the same background color and size for the rest, so your shop page looks consistent.
- Blur instead of replace. For a softer look, click Blur original to put a blurred copy of your photo behind the sharp product.
- No product photo yet? Generate one in Images with the Product shot style (15 credits), then bring it into Studio with Edit in studio.
Next steps
- Edit photos in Studio explains every Studio tool.
- Create images covers sizes, styles and Improve prompt.
- Write a week of Instagram captions in 10 minutes gives you captions to post with your photos.
- Privacy and data explains what stays on your device.